Meshing surfaces
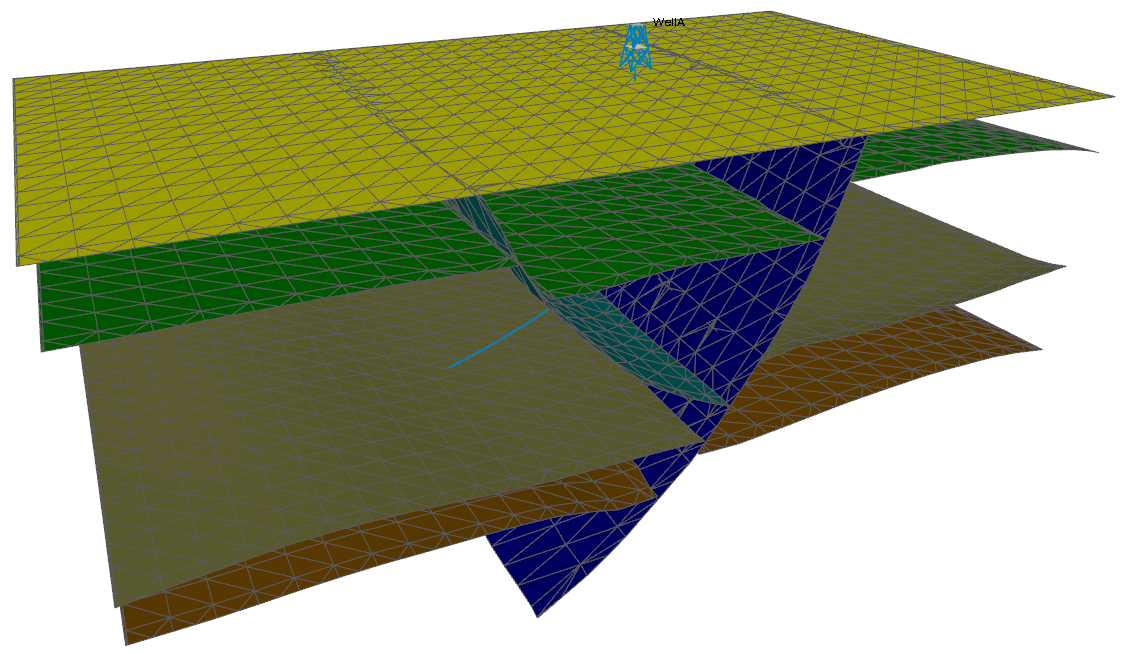
3D mesh structural model before remeshing. click to enlarge
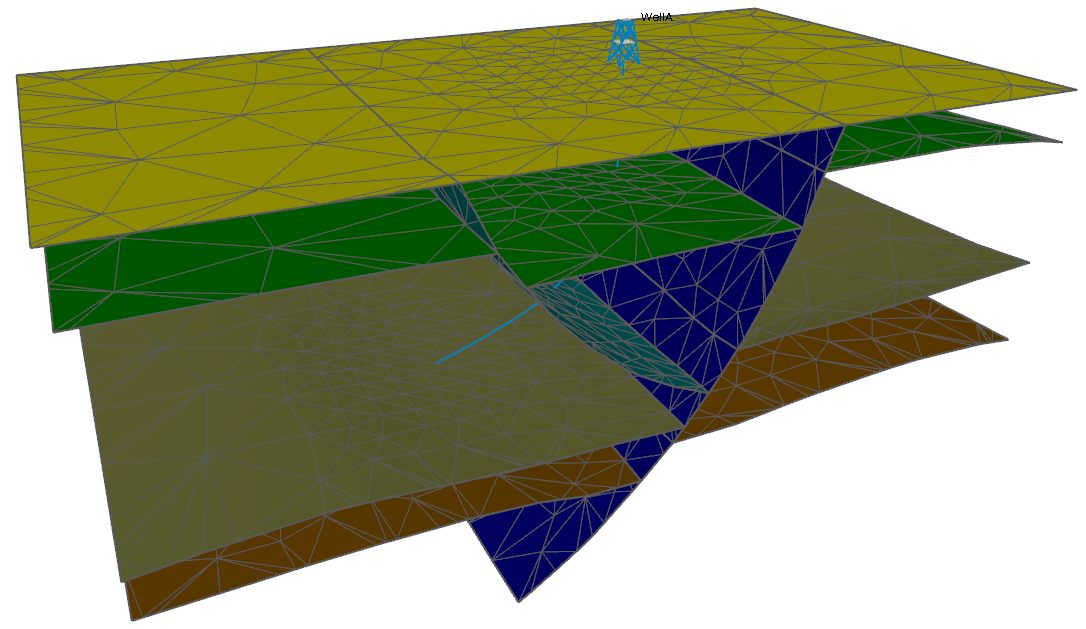
3D mesh structural model after remeshing. click to enlarge
After you have created a new 3D mesh structural model, assigned surfaces to it, created mesh boundaries and a size definition, you are ready to remesh the surfaces in the model to provide a much better basis for the creation of the 3D tetrahedral volume mesh suitable for finite element analysis. You do this in the Mesh Surfaces step.
The Mesh Surfaces form will open automatically after clicking OK on the Set Element Sizes form in the Surface Meshing workflow, or you can open it directly from the 3D Mesh strip (model > 3D Mesh > Mesh Surfaces).
To remesh the surfaces of the model created earlier in the workflow, make sure it is selected in the Model drop-down list of the Mesh Surfaces form and click OK.
Meshing the surfaces can take quite some time depending on the size of the model. A progress bar is provided on the right side of the status bar along with a Cancel button in case the meshing is taking too long to complete.
When the surface meshing has finished, you find the following in the JewelExplorer:
- The original input tri-meshes (i.e. horizons and faults) overwritten with remeshed surfaces.
- The side and bottom face of the mesh boundaries as meshed boundary surfaces in a new folder 'Mesh Boundaries' under your 3D Mesh Structural Model.
The triangles should be closer to equilateral and their sizes should reflect the size definition created in the previous step of the workflow. The mesh boundaries will also have been remeshed while keeping the 'watertightness' and 'surface association'.
The quality of the result of the next step, creating a volume mesh from the retriangulated surfaces, depends on the quality of the triangles in your retriangulated surfaces. You may wish to check them at this point - see Checking the quality of the tri-meshes. If you need to improve some of the triangles, there are various tools available for this on the model > 3D Mesh strip. See Using the 3D Mesh tools.
After surface meshing has completed, you can proceed to 3D meshing.